NOTICE: In BSC 1.6 .plist file modification is obsolete; your .sqlite in Documents>db must be edited in conjunction with any .plist file for changes to occur.
Have you ever wanted to battle with more than one ship at once, or wondered why Naval Battles are named such even though you are unable to use more than a single ship? With iTools on a desktop and a few simple edits, you can add ship spawns to existing Naval Battle Missions or even create your own!
Basic Editing[]
- Connect your Apple device to a desktop, and open the application by clicking the folder icon. iTools
- Go to: Library > Preferences; delete the file titled 'com.phyzios.Battleship.plist'
- Go to: Battleship.app; open the file titled 'Mission.plist'
- Keystroke: Ctrl+F; type in "BattleLv_", entering the desired number in place of the underscore
Once found, scroll down to the <enemies> section. Here you will find the list of enemies and their spawn coordinates.
Here is a sample of code:
<dict>
<key>centerX</key>
<integer>10000</integer>
<key>centerY</key>
<integer>0</integer>
<key>name</key>
<string>Lv2</string>
<key>quaternion</key>
<integer>8323072</integer>
<key>strategy</key>
<integer>3</integer>
</dict>
This will spawn a level two battleship, a Taurus, ten thousand metres (10.0km) north of the center of the grid.
The basic elements are:
- x-coordinate
- y-coordinate
- Ship class
- AI strategy
You can organize your own enemy fleet by planning out coordinates and ship classes. Simply duplicate the format above in the .plist (Ctrl+C/Ctrl+V) and make the necessay edits for each individual ship you wish to add.
Finally scroll back up to where it says <key>goalValue</key>. Adjust the integer so it is consistent with the number of enemy ships.
Now scroll to the <ships> section. Here you will find your spawn point.
Here is a sample of code:
<dict>
<key>centerX</key>
<integer>0</integer>
<key>centerY</key>
<integer>0</integer>
</dict>
This will spawn you at the center of the grid.
The basic elements are:
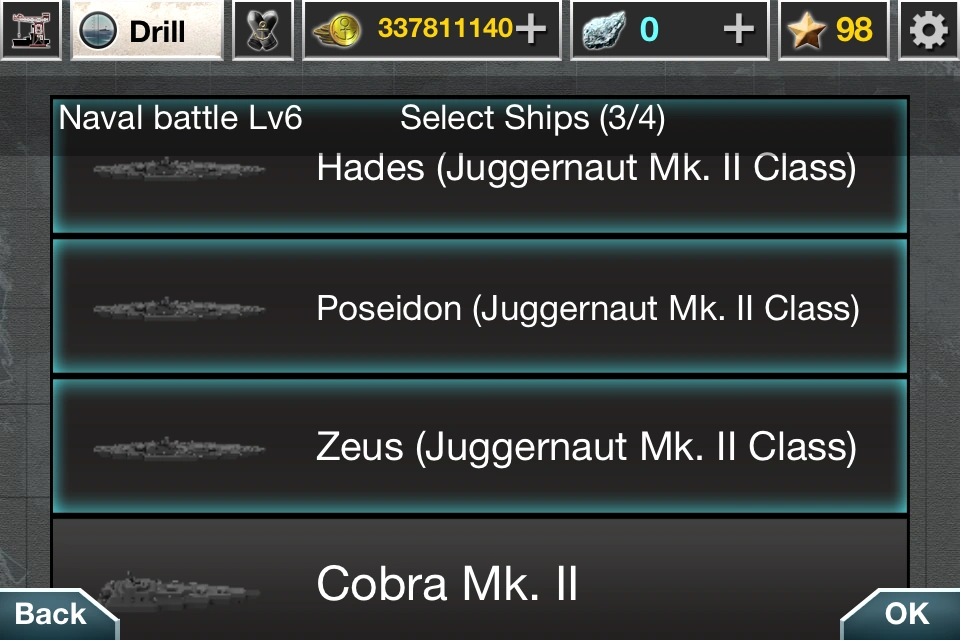
You can organize your own fleet's spawn positions by planning out coordinates. You do not need to assign identities to additional spawn sections, but rather it will allow you to select multiple ships in the mission menu screen. Note that the order you select you ships has a bearing on in what formation they appear in. If you design a battle with three of your ships in a triangle, and listed the spawn points in clockwise order, your ships will spawn in clockwise order in the order you selcted them.
Note: For both your fleet and the enemy fleet, make sure boats have space! Closely knit boats leads to restricted fire power, and the message "Friend Ship on the Ray" will appear should you try to fire at a target an ally is in front of.
Enemy Ship <name> Values[]
A list of enemy vessel classes and the <name> value you must input to spawn them.
- 'Lv1' > Battleship Aries
- 'Lv2' > Battleship Taurus
- 'Lv3' > Battleship Gemini
- 'Lv4' > Battleship Cancer
- 'Lv5' > Battleship Leo
- 'Lv6' > Battleship Virgo
- 'Lv7' > Battleship Libra
- 'Lv8' > Battleship Scorpius
- 'Lv9' > Battleship Capricornus
- 'MissionScorpius' > Scorpius II
- 'MissionCapricornus' > Capricornus II
- 'MissionYamato' > Yamato
- 'MissionEnterprise' > USS Enterprise CV-6
- 'MissionShinano' > Shinano
- 'Iowa2' > USS Iowa
- 'AirBase1' > Air Base 1
- 'AirBase2' > Air Base 2
Combat[]
You may have noticed two new icons in a multi-ship battle. The one on the right with a ship allows you to rotate the ship you are controlling. This rotates in the order that you selcted on the mission menu screen. The other one, on the left, with a camera on it, allows you to switch camera views. The two views are standard view, the usual 360 of your vessel, and top-down, which allows you to view the ocean grid from above.
Note: the camera view will refresh to the starting view each time you rotate ship control, even using top-down.

Top down view of a friendly fleet.

Two new icons, one above the throttle and the other above the helm.
Help[]
There is a thread on the forums here for any questions you may have.